After finishing my 10 week panel beating course I decided to work stop working on all panels at once and focus on one at a time to see if the way I'm doing things will turn out alright in the end.
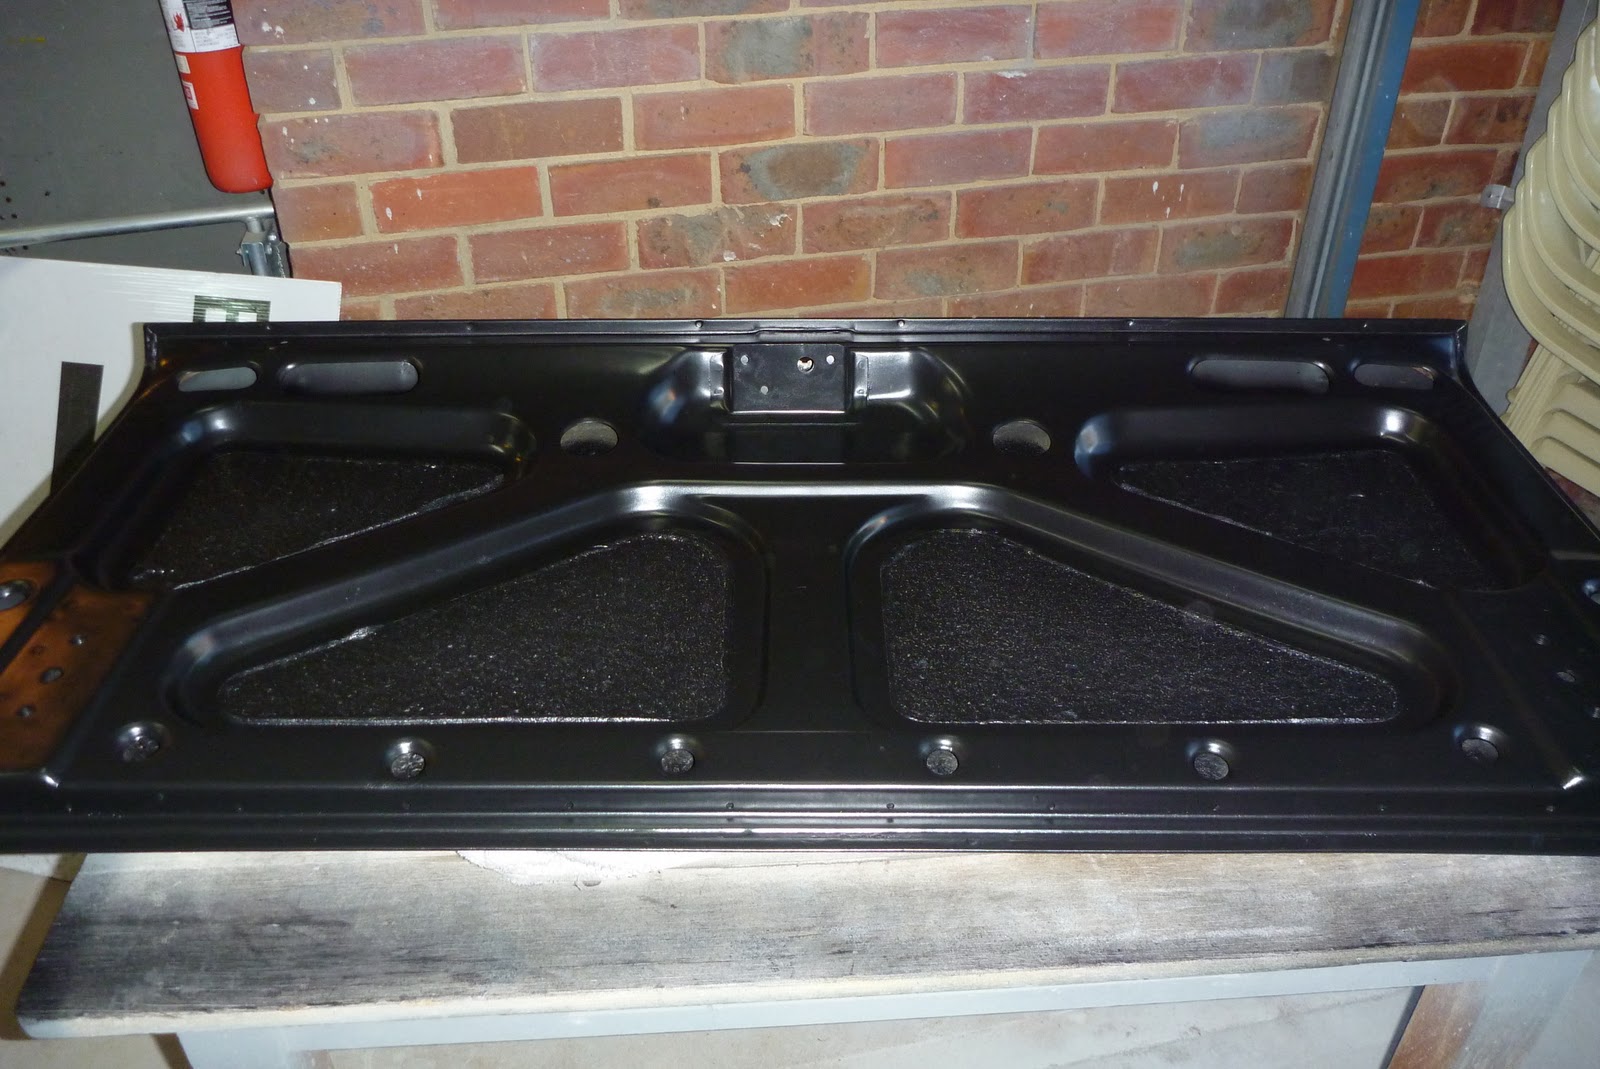
I picked the easiest panel (the boot) and finished striping the paint off it.
Then I bogged up what was required and after that I sprayed some etch primer down.
I let the etch primer dry, very very lightly sanded it as I applied it a bit to heavy and then sprayed some normal primer down.
I got a new (but cheap) spray gun as I was having some problems with my old one.
The new gun is a WorkQuip Gravity Feed Spray Gun.
I've been told it will do me fine as I'm sure my skill will let me down before the gun will.
Tonight I will try it out with some hi build primer.
I'm not sure how much the hi build will cover up as the metal I think is too rough, but i'll wait and see.
I'm glad I decided to work on one panel at a time because if it's no good I only have to fix one panel not four.
I suppose it's going to be trail and error for a while anyway.